How to Prepare Your CAD File for 3D Printing (Common Errors to Avoid)
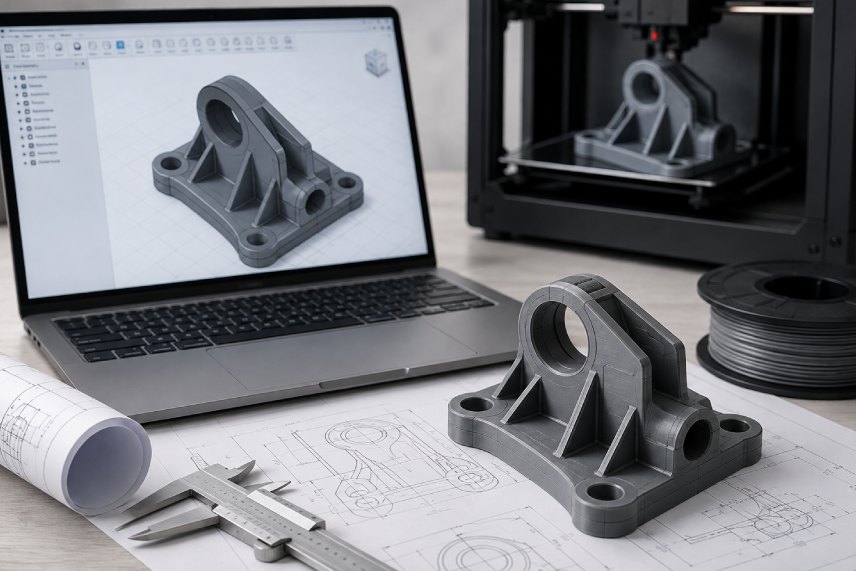
A 3D print is only as good as the file behind it. Even the most advanced printer cannot fix a poorly prepared CAD file, and errors that seem minor on screen often turn into failed prints, wasted material, or delays in production. Whether you are sending a file for a prototype or a production run, taking time to prepare it correctly saves both cost and turnaround time.
Here is what you need to know before submitting your CAD file for 3D printing.
1. Choose the Right File Format
Most 3D printing services, including ours, work with STL, STEP, OBJ, or 3MF files. Each format serves a different purpose.
- STL is the most common format for 3D printing. It converts your model into a mesh of triangles but does not retain exact curves or dimensions.
- STEP files preserve precise geometry and are better suited for parts that need tight tolerances or further CAD editing.
- OBJ files are useful when color or texture data needs to be retained, such as for multi-material or full-color prints.
If you are unsure which format to send, STEP is generally the safer choice for functional or engineering parts, while STL works well for most standard prints.
2. Check for Mesh Errors Before Exporting
STL files are made up of triangles, and small mistakes in the mesh can cause big problems during slicing. The most common issues include:
- Non-manifold geometry – edges that are not properly connected, creating gaps or overlaps in the surface
- Flipped normals – triangle faces pointing inward instead of outward, which confuses the printer about what is solid and what is empty space
- Holes in the mesh – small gaps in the model surface that prevent it from being read as a closed, printable object
Most CAD software has a built-in mesh repair or analysis tool. Running this check before export catches the majority of these issues early.
3. Set the Correct Units and Scale
One of the most common and easily avoidable errors is a units mismatch. A model designed in inches but exported without correcting for millimeters can come out ten times larger or smaller than intended. Always confirm the unit settings in your CAD software match the units expected by the printing service, and double check the final dimensions before sending the file.
4. Mind Your Wall Thickness
Every printing technology has a minimum wall thickness it can reliably produce. Walls that are too thin may not print at all, or may become fragile and break during handling. This is especially important for:
- Small mechanical parts with fine features
- Enclosures or housings with thin sides
- Parts with internal ribs or supports
As a general guide, walls should be at least 1mm to 2mm thick depending on the material and process, though this can vary. If you are designing a part with thin sections, it is worth checking with your printing provider before finalizing the file.
5. Account for Tolerances in Assemblies
If your part needs to fit with another component, whether printed or off the shelf, tolerances matter. 3D printing processes have some level of dimensional variance, and a model designed with zero clearance will often not fit as expected once printed. Build in appropriate clearance for holes, pins, snap fits, and mating parts based on the printing technology being used.
6. Avoid Overly Complex or Unnecessary Detail
Fine engravings, thin text, or intricate surface patterns can look great on screen but may not translate well to a physical print, particularly at smaller scales. Features below the resolution limit of the printer will either be lost or come out poorly defined. Simplifying non-functional detail, or increasing the scale of the part, helps ensure these elements print as intended.
7. Orient Your Model with Printing in Mind
While final orientation is often handled by the printing service, it helps to design with printability in mind from the start. Overhangs, unsupported spans, and thin protruding features may need support structures, which can affect surface finish and post-processing time. If your part has a clear "best" orientation for strength or appearance, mention this when submitting your file.
8. Double Check Before You Send
Before submitting your file, a quick checklist can catch most common errors:
- File format matches what the service requires
- Units and scale are correct
- Mesh is free of holes, flipped normals, and non-manifold edges
- Wall thickness meets minimum requirements
- Tolerances are built into any mating or assembled parts
- Fine detail is scaled appropriately for the printing process
Get It Right the First Time
A well-prepared CAD file leads to faster turnaround, fewer print failures, and a final part that matches your design intent. If you are unsure whether your file is ready, our team can review it before production begins and flag any issues that need correcting.
Have a CAD file you would like checked before printing? Get in touch with our team or upload your file directly through our quote request form.